Stitching the parts together This is the final part of the construction process series. This is where all the parts are stitched together. The lower leather part with the upper parts. The vamp and the back leather part. For this task start by threading the needle. This needle is a different kind. They are called Osborne Braiding Needles at DICTUM ( https://www.dictum.com/en/sewing-tools-materials-bbc/osborne-braiding-needles-708419 ) and threading them is easier than using the saddle-maker's needles. They hold two "teeth" that I suppose they hold the thread in there. I am not sure if I did it right but for the whole project it did hold the thread pretty nicely without disengaging the thread at any time. I first passed the thread in the V shape lamina passing both teeth and then the short part of the thread again in the V shape lamina passing only the first tooth and that's it. This needle does not hold a sharp/pointy edge and is perf...
There is no need to spend your expensive leather for testing designs each and every time. Use some fake leather or otherwise. It is much cheaper from original leather and does pretty nicely the job.
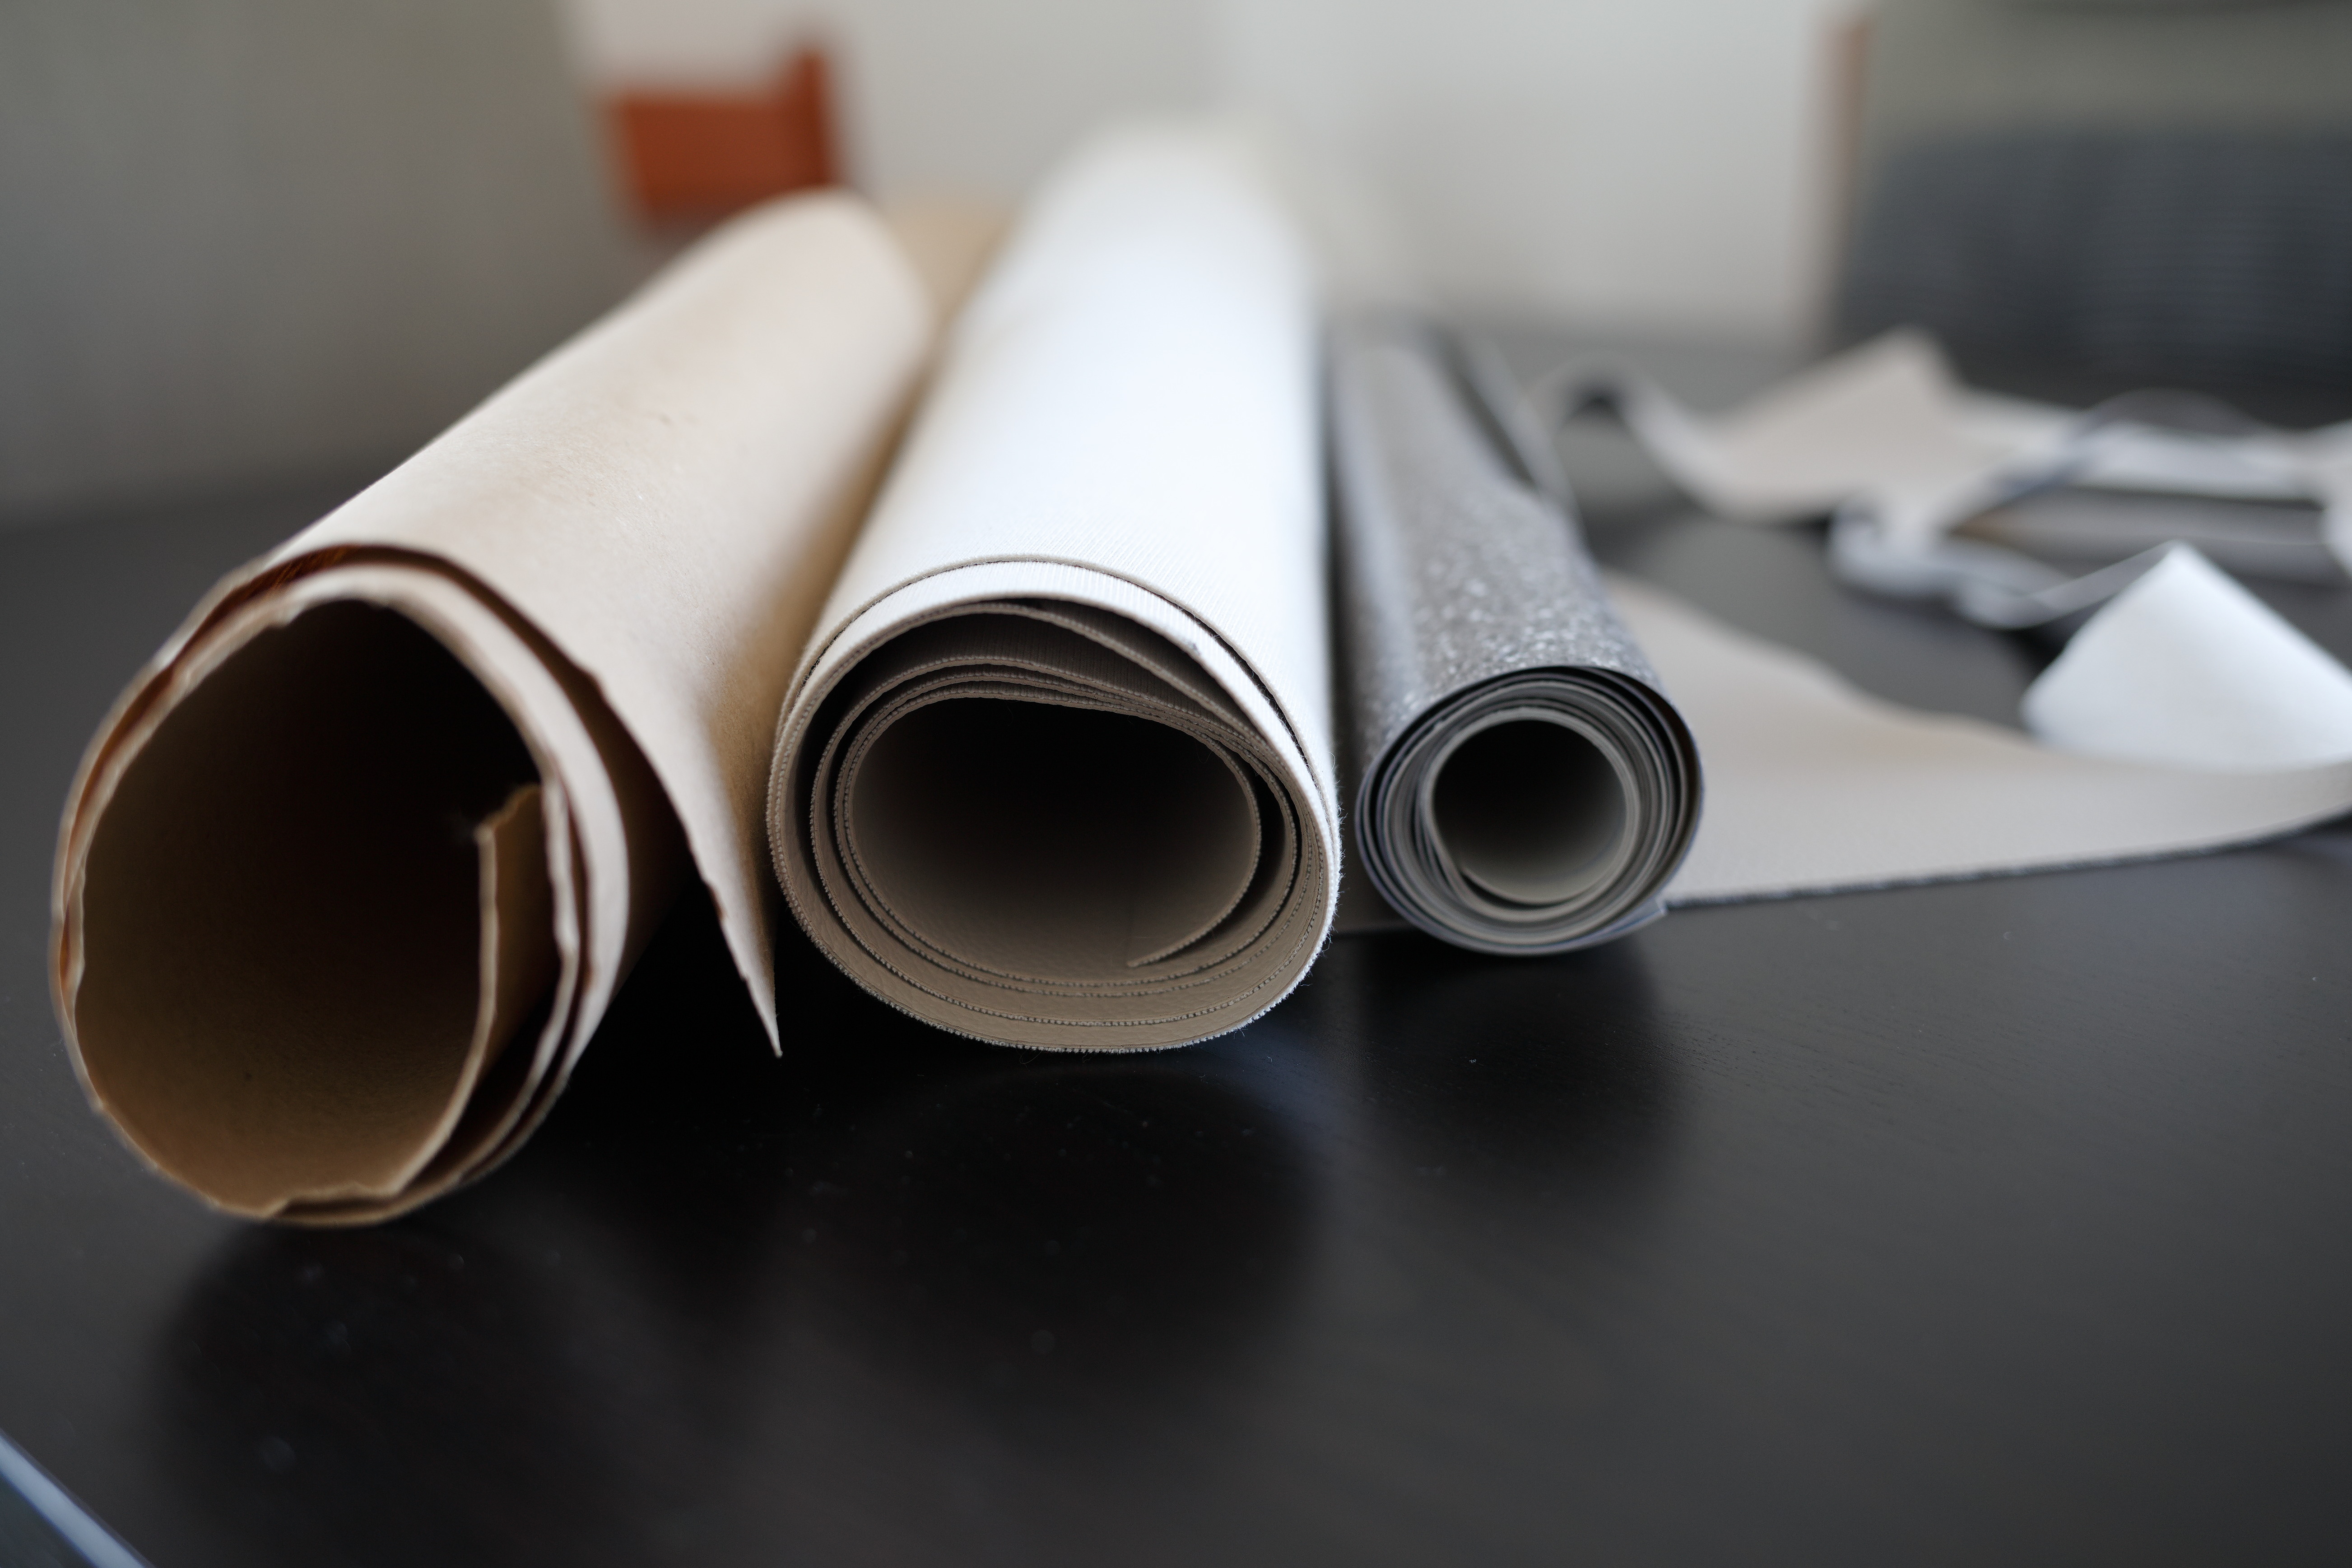
On the next picture one can see from left to right, first the paper used for all the blueprints. In the middle the fake leather used to test and construct the first testing shoe, and on the right a roll of industrial floor cover used to make a more permanent type of blueprints (just copied the paper ones to those plastic ones form this roll)
Tests will be frequent and wasting lots of paper for start and fake leather material is a fact. I thought myself that by just having this experience of my previous construction of moccasins that this one would be a straightforward case. Which was not. I guess that is for every project done from now on, on moccasins and true enough for every different foot trace. Thus if someone asks me what to do with those blueprints for another size foot, truly I think I have to design them over from scratch every time. I suppose that is why shoe sizes and shoe lasts are there but I want something that will fit exactly on my foot and not a general size.
And here is the first testing shoe that came out of fake leather. I already mentioned it but this is a testing first shoe made. Changes made to the actual one shown on my first post include lower back leather side and that the vamp became wider to compensate my foot's front curve. The sole here is hard leather.
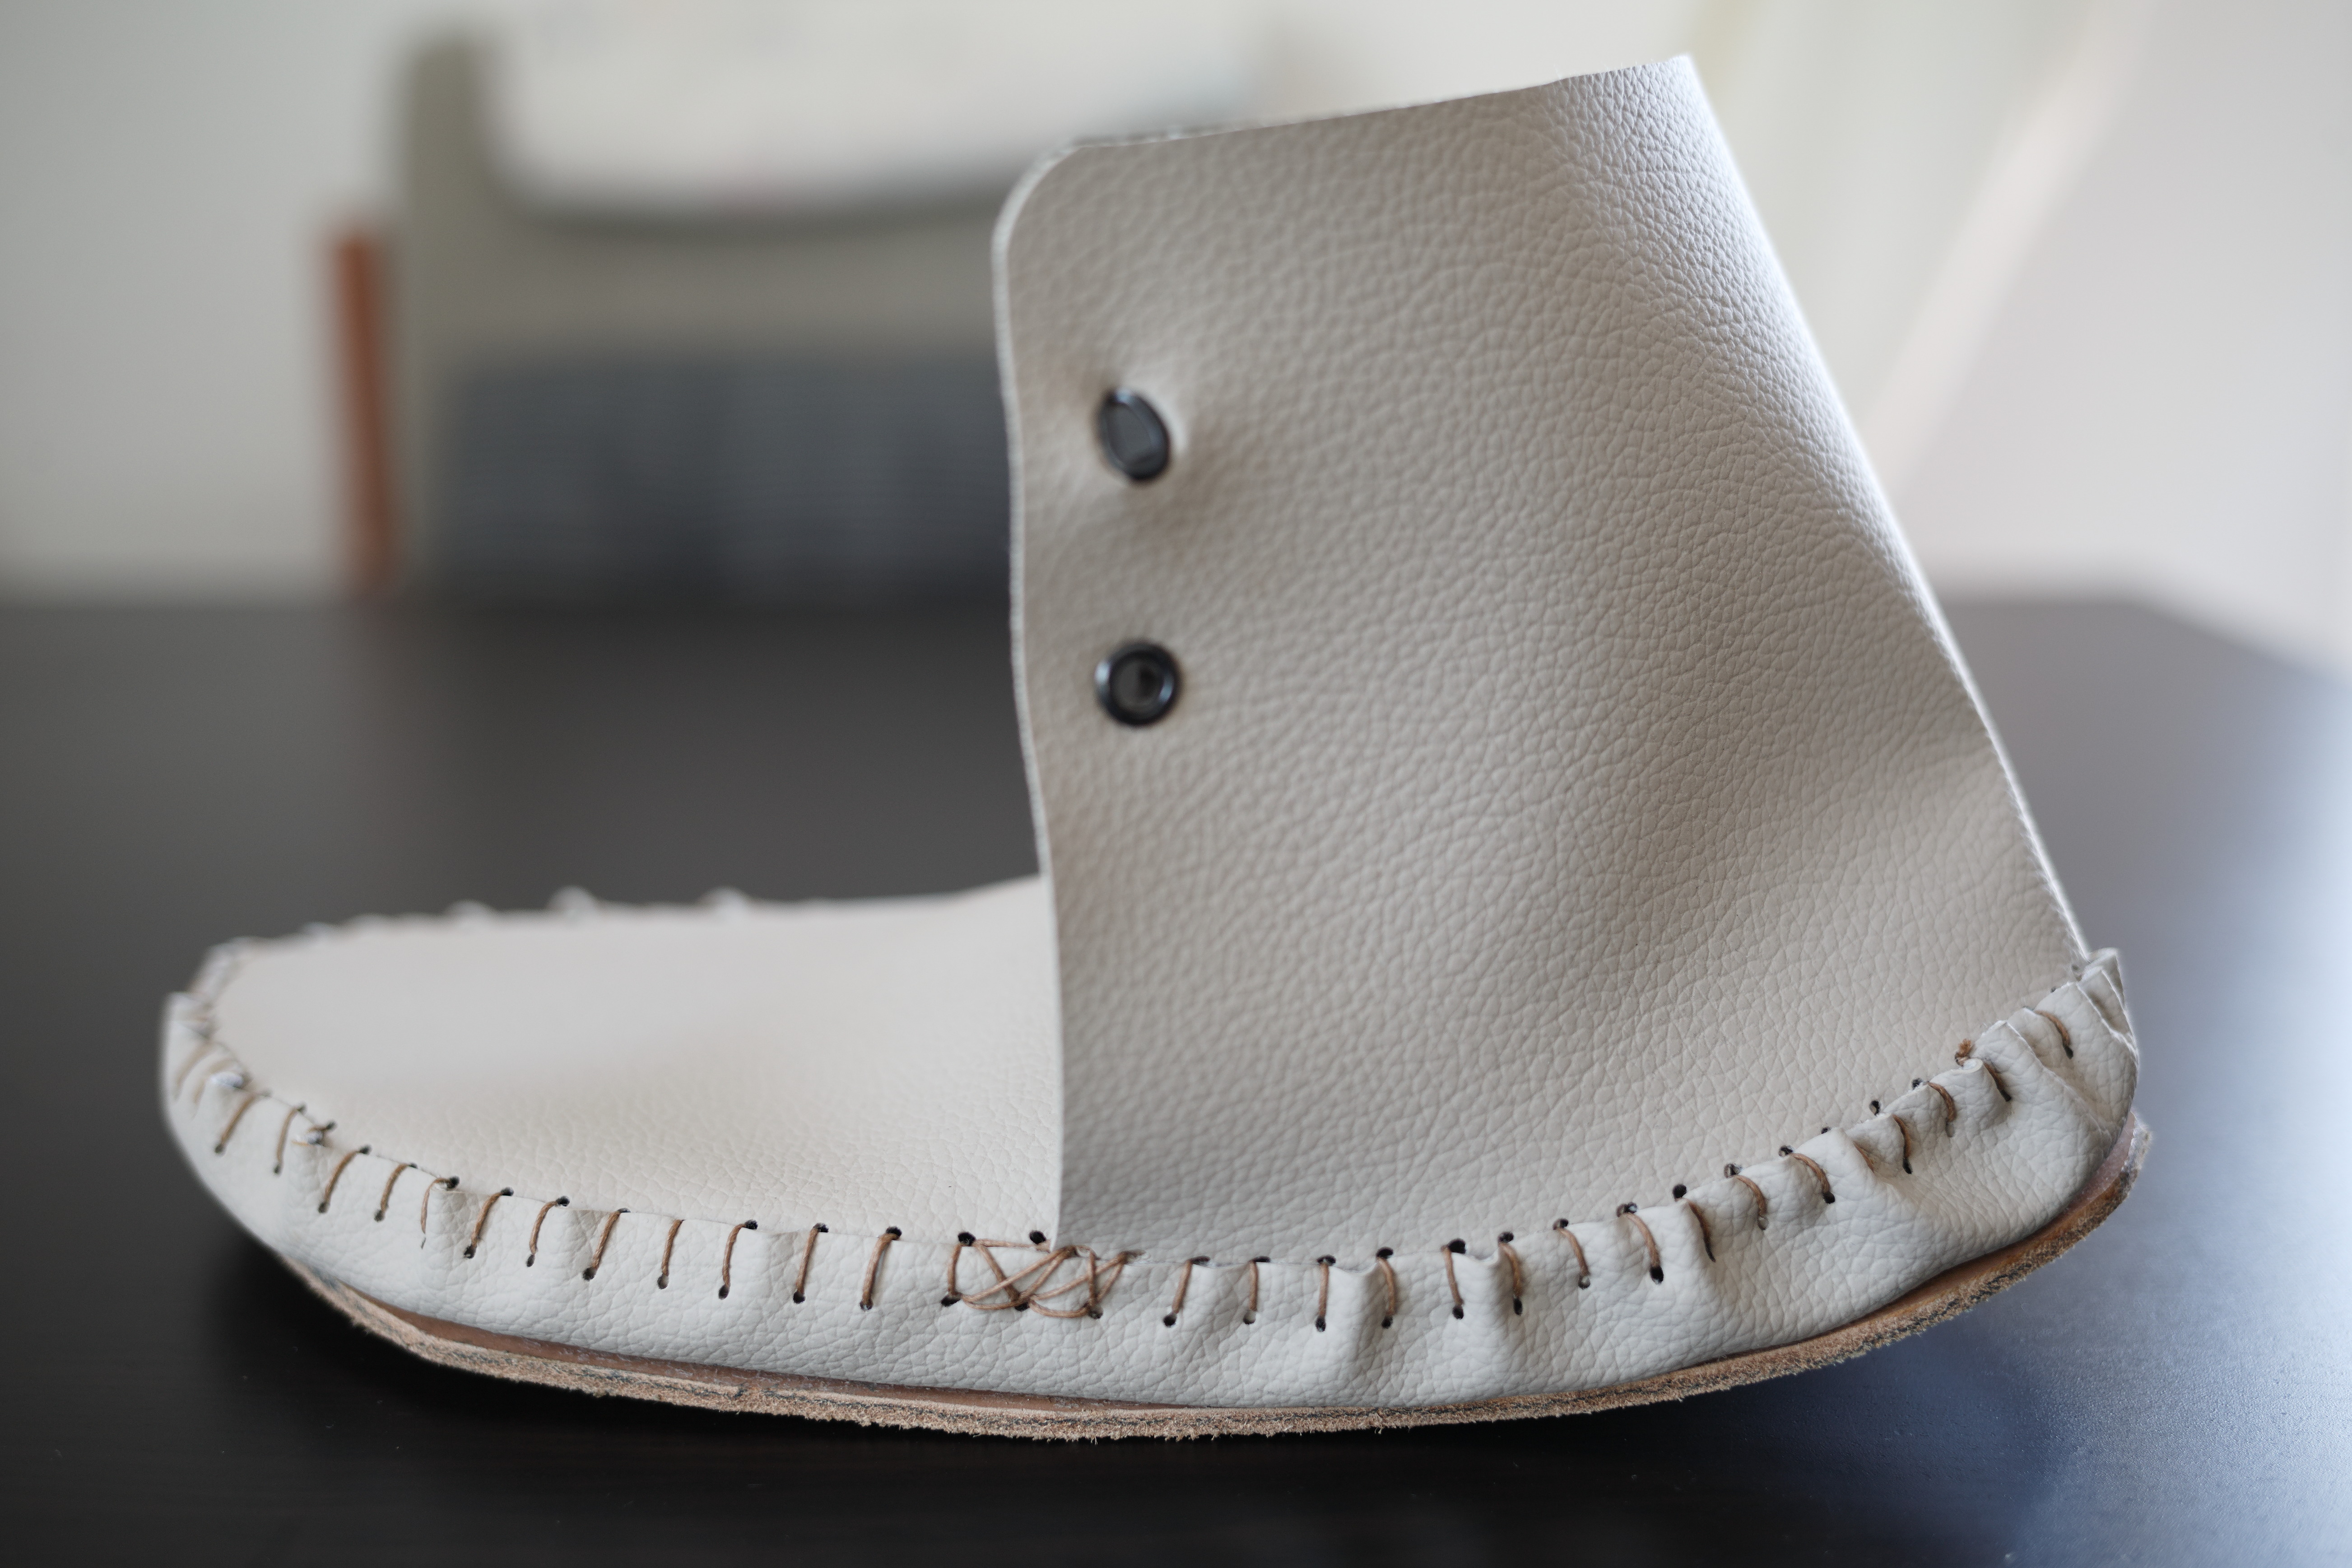
At least this one clarified to me the mistakes and what could be done to correct them on the real one. Of course leather lays better especially round the edges where the stitching is done bonding the three parts together.
The whole construction consists of 3 parts as far as the leather is concerned. The bottom part, the back part and the vamp. I have chosen to build a semi boot type form my moccasins. This was a design that I liked from the beginning. That is from the time I bought 15 years ago the book and by the time I saw the Ken Diamond's designs. This is my first one anyway. Others will follow. Probably this design shown bellow again by Ken Diamond.

Testing also involves grabbing a piece of scrap leather or crepe sole and trying out your cement glue or stitching technique.
Here are some tries I did before actually applying the cement glue on the real product.
This would represent the stitched together lined bottom piece leather with the crepe sole. Here I tested out how easy enough would be to stitch those together and what technique would be used for that. The awl is a must in this case, passed from right to left and having on your stitching pony the leather facing on your right and the sole on your left.
Marking only the leather for even stitches since the crepe sole is impossible to mark. Also one has to follow exactly the path of the pierces the awl makes with the needle on the left to right stitch manner otherwise the needle will stuck in the crepe material and will not end up on the marked hole to the right. This is done by removing slowly the awl as the needle is inserted into the crepe. This takes time and needs a lot of patience.

Here is another picture of it from the other side.

Testing also the bonding between two different materials is very important. Not all glues are for everything and certainly all glues need some preparation on the materials application surfaces.
Many consideration existed for gluing together the crepe with the rubber sole. Just because this bonding must be strong enough to support itself only using the glue. The existence of the rubber sole is there to protect the stitches done between the crepe and the leather. It adds some aesthetics to the project but it is mainly for protection reasons. The glue cement used is that of general use cement for leathers. There is another one which consists of two parts (epoxy glue) and is suitable for this application yet it would make the bonding almost permanent so in case the rubber sole is to be replaced it would make the operation almost impossible.

Testing must also take place between the leather and the lining. Reindeer is this case and sheep respectively.
Also the two back sides where glue is to be applied must be treated gently since both leathers are delicate in touch and the only thing needed is to rise those fibbers of the leather on the back side so the glue can get in there easier.
I used a copper brush seen in the toolset picture provided.
The result after gluing the two leathers together can show how good the bond is with this particular glue and if changes needed to be done. In my case I could see that one of the leathers provided (the sheep leather came in two pieces) is thicker than the other one. I decided that I could use the thicker leather as lining for the back side of the shoe where I need more sturdiness.
Also the bonding revealed that I could use the leather with the lining just as it is (without peripheral stitching) for the lower and the vamp parts. Using the moccasins will reveal if I was right.

Stitching was tried with two different threads. One unbreakable nylon one normal waxed one. The nylon was almost impossible to handle on stitching as it tangled all the time. It was ugly as well so the choice was the waxed normal one.
Stamps can be tested on this piece as well. Both sides, wetting or not the leather and observe over time the results. You can even rub or "mistreat" the piece of leather as bad as you can.
In my case I applied flue on the wrong side of the reindeer leather and tried to remove it using the glue's adhesive only worsening the situation even more.

So it is true. If you ever apply or manage to mess with the glue cement on the wrong part or side of your leather it is over with it. Better start over with another piece.
Piercing through this testing piece of leather also gives a first view of how it will end up on the real thing.
It is also a good idea to have vernier calipers to measure the thickness of your leather constructions at various places. Just to train the eye a bit on thicknesses so when buying later on more leather you can visualise its thickness and know what to expect. It is also a good idea to correlate thicknesses with the type of leather and the behaviour that this property makes.

Comments
Post a Comment